Time to get the printers warmed up!!
In this tutorial I will show you how to assemble the leg parts for non motorized version. It is pretty easy if your prints are correctly printed without warping otherwise, you will have a hard time to join all the parts together.
Beware that some of these parts are really big and exceed the standard 12x12x12 cm.
There is two REALLY big parts included in the Non Motorized legs, here are the sizes:
-ThighHighRightV1: LENGTH16,5 X WIDTH19,6 X HEIGHT12cm
-ThighHighTempV1: LENGTH19,7 X WIDTH12,7 X HEIGHT13cm
Some of these parts require support during 3D printing, so please check the bellow list.
Download STL from the Gallery
Before printing all the parts you should print the CALIBRATOR, to check if your parts will fit together. If you have a very hard time putting those parts together, adjusting the horizontal expansion setting of your slicer software can solve that, this setting can vary depending of your slicer and printer but users report to set it at -0.15 is a great place to start.
An infill of 30%, wall thickness 2.5mm, best with no raft, no support(unless specified), use a brim to avoid warping.
Here is the list of parts and the number of prints needed for the legs:
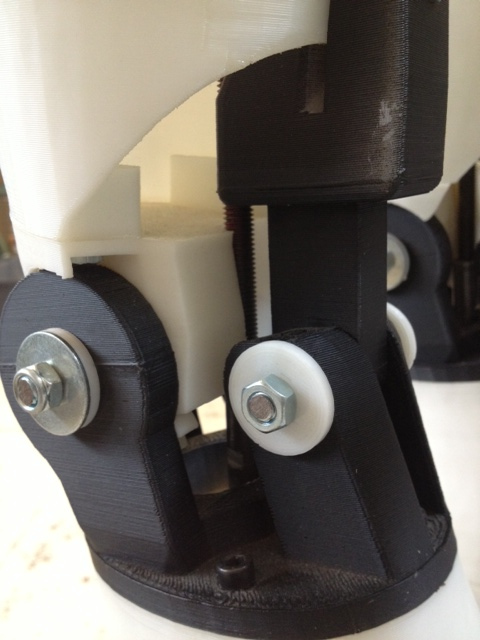
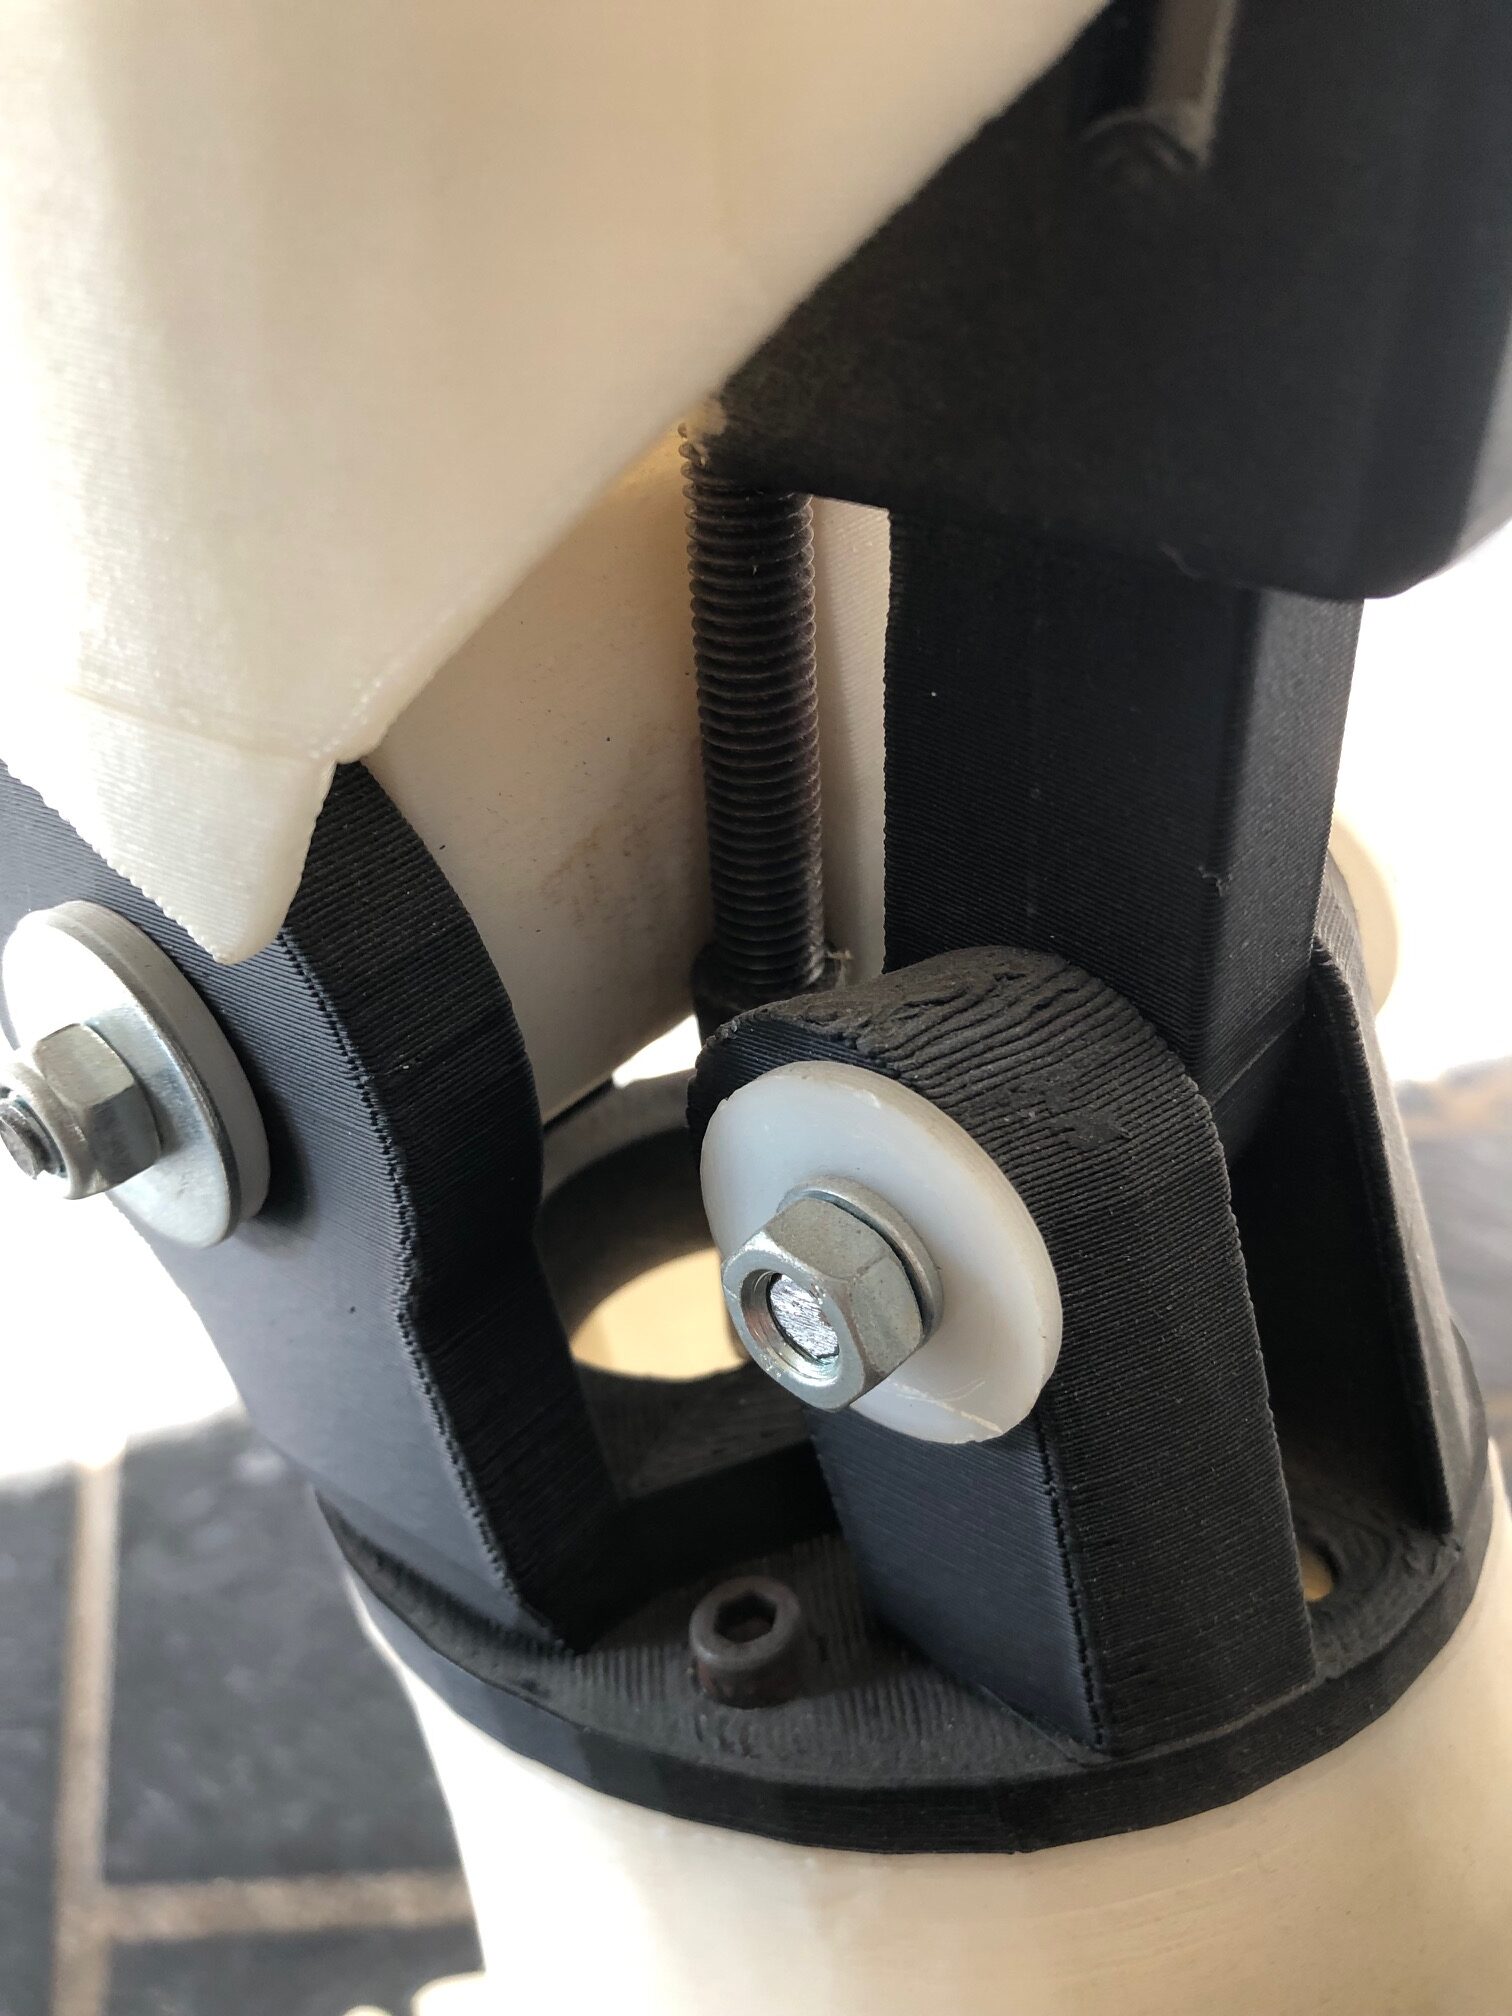
Ankle:
- 1x AnkBackFoot
- 1x AnkHolder
- 1x AnkMidleFoot (add support)
- 2x AnkToesBolt
- 1x AnkToesFoot
- 1x AnkleBase
- 1x AnkleDown (add support)
- 1x AnkpartV1
- 2x FootBoltHolder
- 1x LeftAnkBackFoot
- 1x LeftAnkHolder
- 1x LeftAnkMidleFoot (add support)
- 1x LeftAnkToesFoot
- 1x LeftAnkleDown (add support)
- 1x LeftAnkpart
- 1x leftAnkleBase
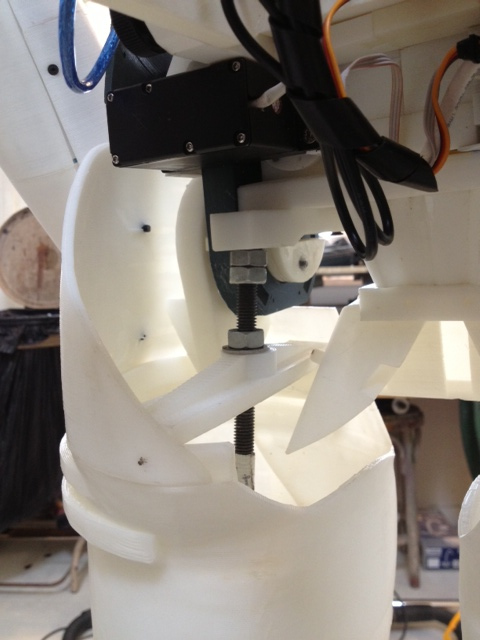
Tibia:
- 1x TibiaHighLeft
- 1x TibiaHighRight
- 1x TibiaLowS1Left
- 1x TibiaLowS1Right
- 1x TibiaLowS2Left
- 1x TibiaLowS2Right
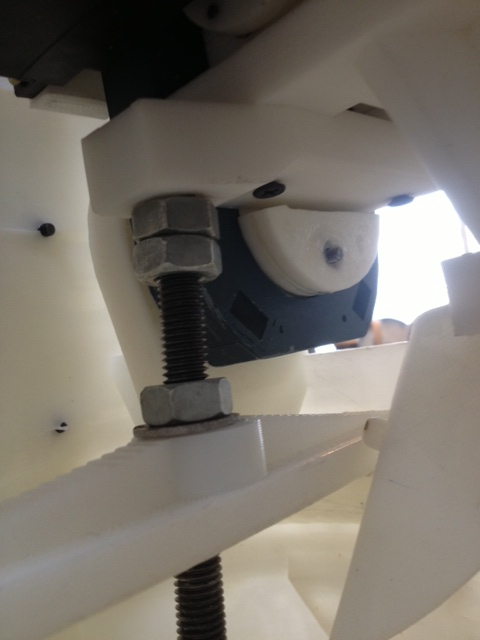
Knee:
- 2x KneeBolts
- 2x KneeSmallBolts
- 1x KneeClampLeft
- 1x KneeClampRight
- 1x KneeHighLeft
- 1x KneeHighRight
- 1x KneeLowLeft
- 1x KneeLowRight
Thigh:
- 1x LegFixerLeft
- 1x LegFixer
- 1x LegHolderLeft
- 1x LegHolderRight
- 1x ThighBoltBlokerL
- 1x ThighBoltBlokerR
- 1x ThighHighBlokerL
- 1x ThighHighBlokerR
- 1x ThighHighLeft
- 1x ThighHighRight
- 1x ThighHighTempLeft
- 1x ThighHighTemp
- 1x ThighLowLeft
- 1x ThighLowRight
- 1x ThighMidLeft
- 1x ThighMidRight
- 1x ThighSideAccessLeft
- 1x ThighSideAccessRight
Step1:
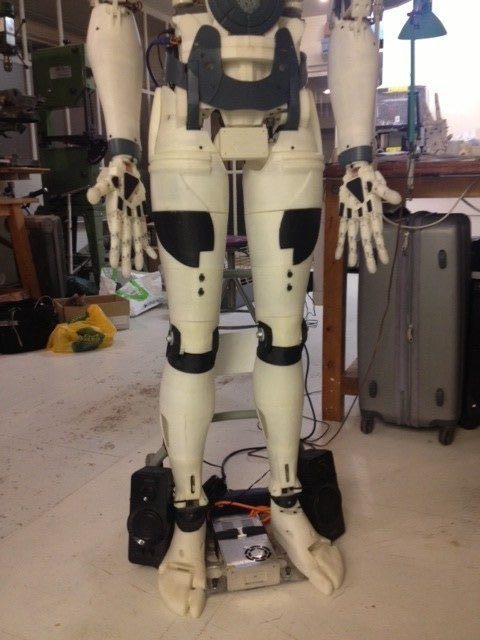
The non motorized legs are mainly for show. They allow to have the robot standing up on it’s own legs. The robot will be bolted and fixed to a large 60x60cm plate for to assure it’s stability.
A 10mm rod will run from bottom plate to the top of the legs.