Nice day today, InMoov right hand has been featured on Thingiverse!
I wanted since a while to transform the wrist of the hand because of a lack of DOF. For to do that, I had to dismantle the whole hand…(again) I decided last night to give it a go. Worked something in Blender after creating some gears with Openscad using « Parametric Herringbone and helical gears » from canadaduane in Thingiverse. Actually since it was the first time I used Openscad, it took me a while to figure out the whole thing.
I printed the parts this morning and made a test with the Arduino. I had to adjust some parts of course but the whole thing finally works. I will soon put the parts to download on Thingiverse.
Here are some pictures to illustrate the building of this new part.
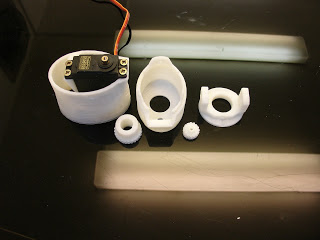 |
| After printing you should have five parts. |
|
 |
| Remove with pliers the support. Fix in the bracket the servo MG995. Use the Arduino to set it to 0 degree. |
 |
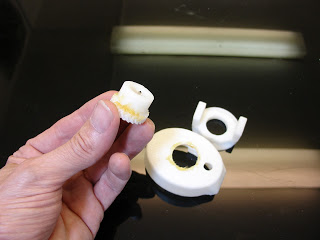
| Use one of your spare actuator from your servo. Cut it and fix it to the small gear as shown. It shouldn’t be oversized. |
 |
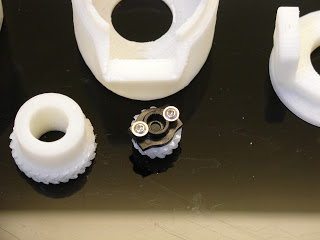
| Grease the big gear before setting in « rotawrist2 ». |
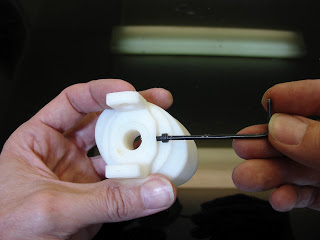 |
| Drill and tight fit the gear to « rotawrist3 » through « rotawrist2 ». |
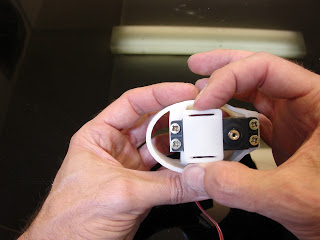 |
| Use hot glue gun to position and fix « cableholderwrist1 » to the top of the servo. This will help to guide the rods into the center hole. |
|
|
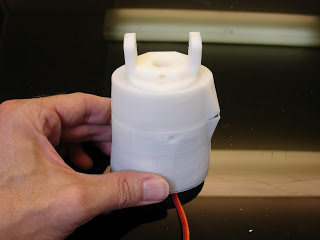 |
| Close the whole thing and tight the 3 screws on perimeter. Make a test run with your Aduino. This is the position you should have when your servo is at 180° for the left hand |
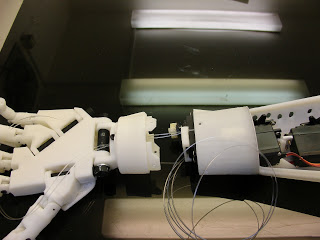 |
| Now it’s time to glue « rotawrist1″ to « robpart2V2 ». Once glued detach « rotawrist1 » from « rotawrist2 ». Start running the rods from your servos up to each finger. (Use the Arduino to set your servos at 0 Degrees) Don’t twist the rods and make sure the upper rods run through the upper parts of the fingers, run the lower rods through the lower parts of the fingers. |
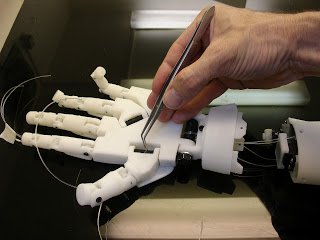 |
| This is where you are going to test your patience and skills. I use twisers for to do the job. |