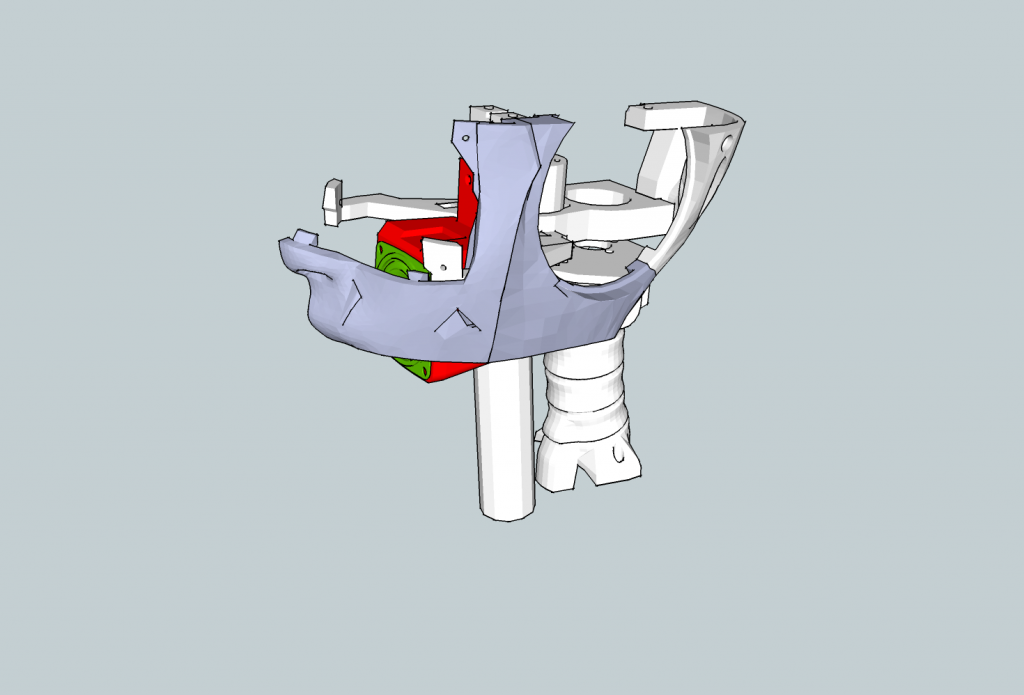
Get your printers warmed up!!!
I have uploaded the covers for the back and made a tutorial for the build process.
You can find all the STL files in the gallery. Remember when you download, all my files and design are under the CC-BY-NC licence.
In this tutorial I will show you how to assemble the back covers. It is pretty easy if your prints are correctly printed without warping otherwise, you will have a hard time to join all the parts together.
Some of these parts require support during 3D printing, so please check the list in the tutorial.
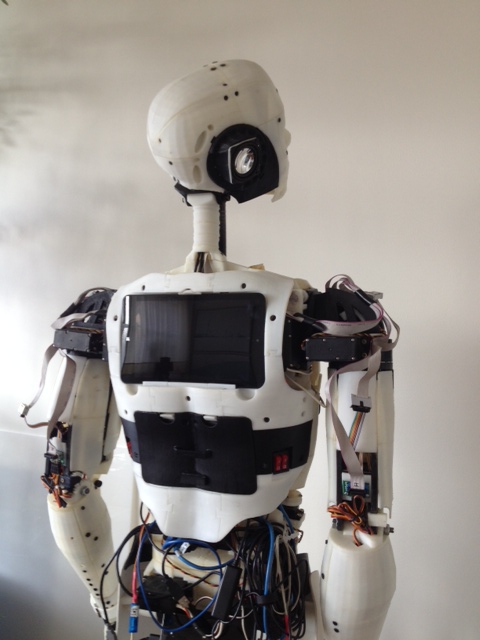
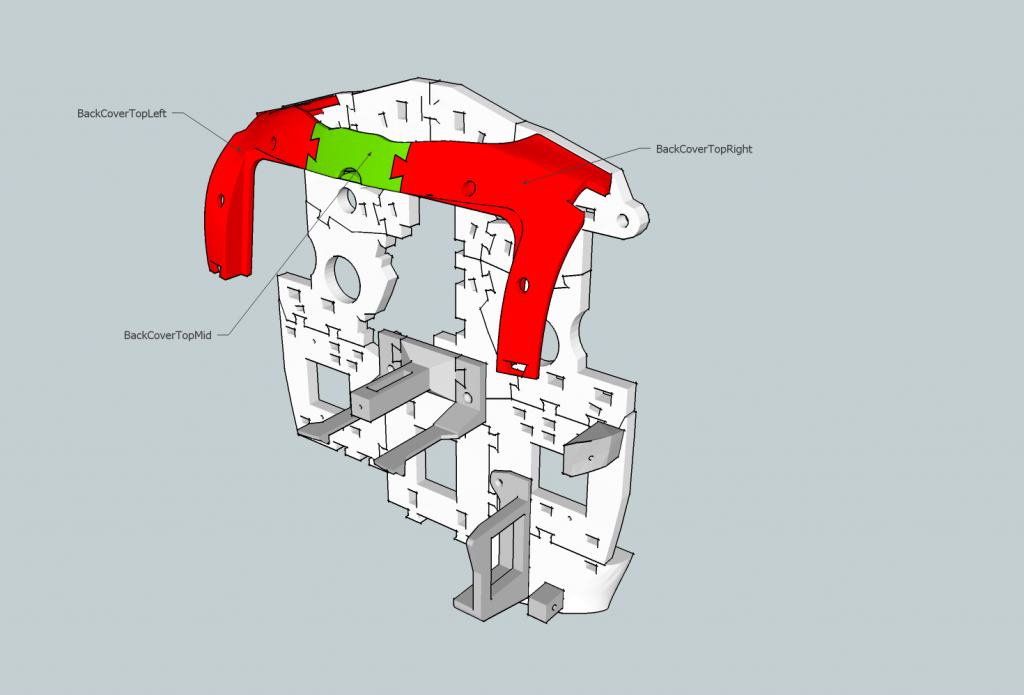
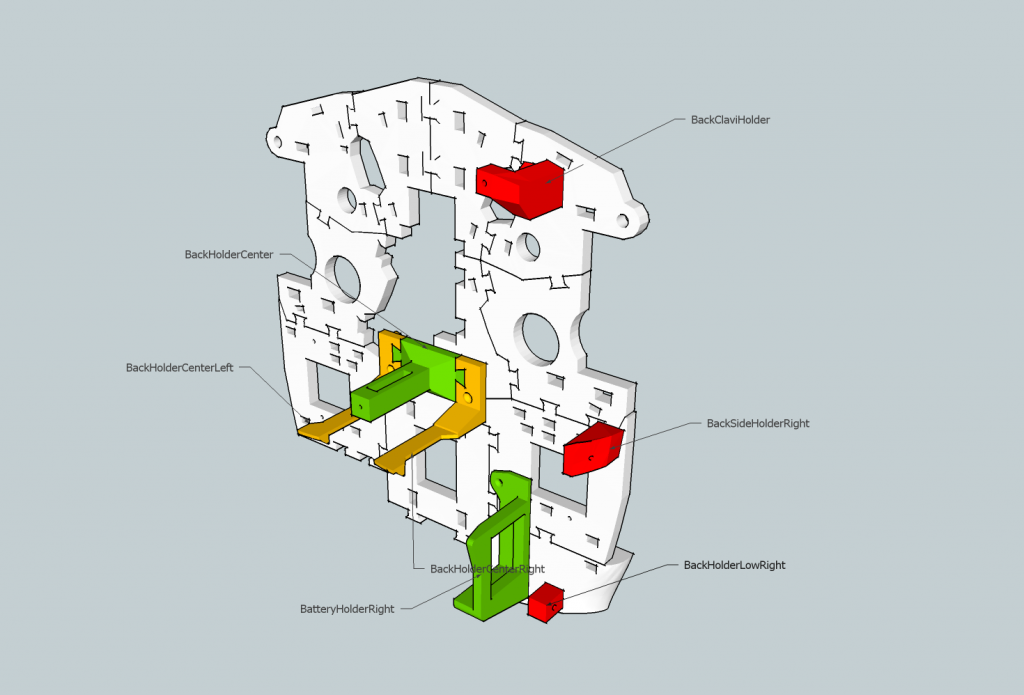
 You will notice the back door for the battery is not uploaded yet, because I still need to modify some stuffs.
Get your InMoov eyes look very real!!
Download and print my new eye ball files and follow the tutorial to start creating realistic human eyes.
By the way I also created new suppots for another type of camera, because it seems hard to find the Hercules Twist HD.
So now you can also use a LifeCam HD 3000 from Microsoft.


Set your ribbons within the shoulders!!
I have been in the process of building a second InMoov to add all these new features.
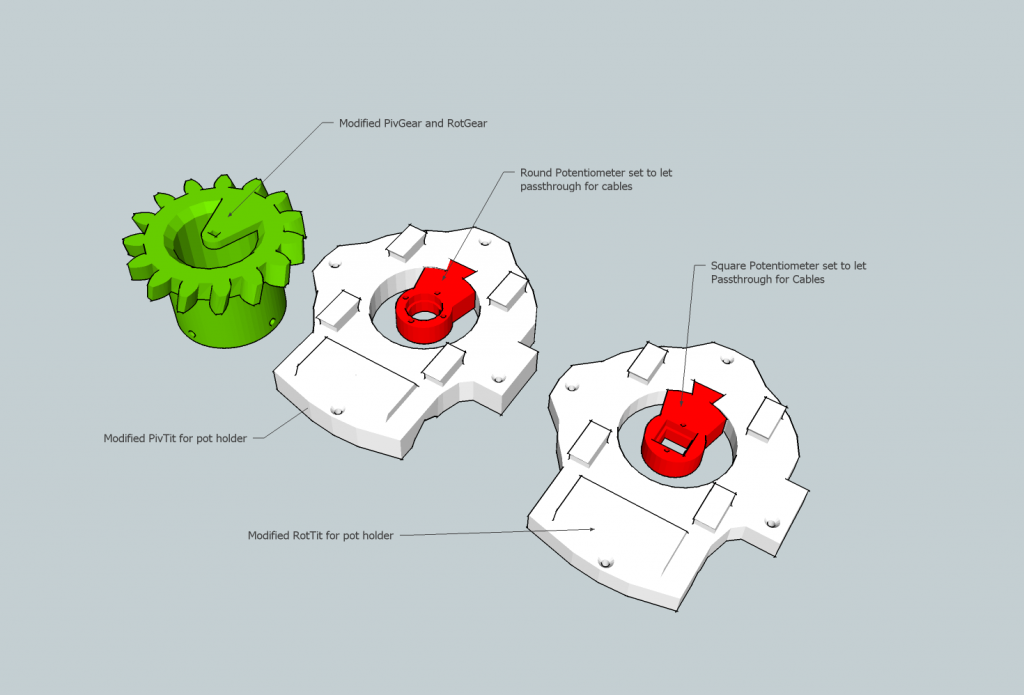
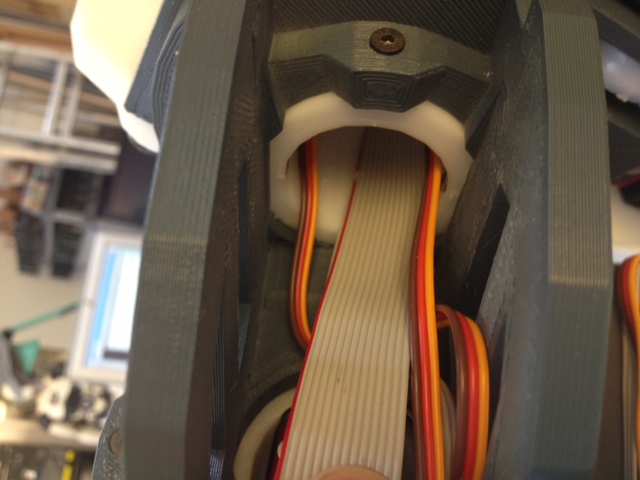
In the process, I modfied the pot holders in the shoulders and the rotate gears, this is to give a pass through access for the ribbon cables that run from the Nervo Board to the arm and hand servos.
This now allows to have all the cables within the arm instead of outside, it also avoid damaging the cables and let the parts rotate freely. Much cleaner setup.

I created a list called Upload & Updates in which I will maintain my modifications to let the builders know what is up to date and what I have been recently modifying.
I created a support to have the speaker set behind the jaw. SpeakerMouthHolder it is attached to SkullServofix, this allows to set the real »ears » instead of having loud speakers at the ears placement. It can be screwed or glued. I didn’t modify SkullServofix yet to have screw holes.


